A simple method to label and store cables, chargers, and adapters
So you stop re-buying them.
You know the scene. A drawer full of black snakes. A knot of cords that looks alive when the lights go out. You buy a “new” charger because the old one has gone missing, again, even though you can feel it in your bones: it’s in the house. It’s always in the house.
This is a cable organization for people who are tired. Not perfection. Not a Pinterest shrine. Just a method you can repeat on a bad day, half-awake, and before you had your coffee.
You’re going to give every cable a home, a name, and a way back.
Choose one “cable home” and stop letting cords roam
Cables multiply when they don’t have an address. They drift. They breed in backpacks. They hide behind furniture like they’re ducking a warrant. The fix starts with one container, one spot, and one rule: if it’s not in use, it goes home.
Pick a simple “cable home”:
- A shoebox, a small plastic bin, or a zipper pouch
- A drawer with one shallow tray
- A tote bag on a closet shelf (ugly is fine, reliable is better)
Then split that home into rough zones. Nothing fancy. You can do it with scrap cardboard dividers, paper envelopes, or zip bags.
A clean set of zones that works for most people:
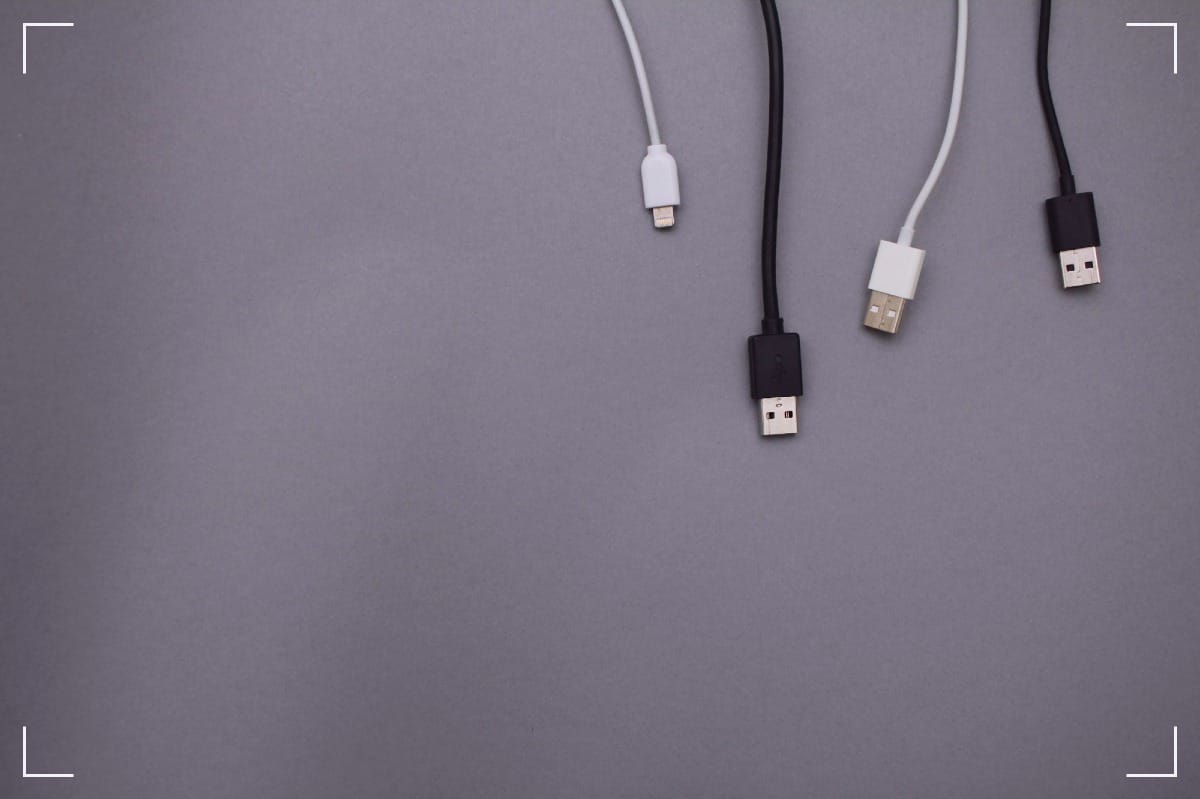
- Charging cables (USB-C, USB-A, Micro-USB, Lightning)
- Video (HDMI, DisplayPort, VGA)
- Audio (3.5 mm, RCA)
- Power (barrel plugs, AC cords, laptop chargers)
- Adapters and dongles (USB-C hubs, USB-A to USB-C, SD readers)
Now give every cable a restraint. Loose cables don’t behave. Use Velcro ties, twist ties, or a short strip of painter’s tape folded onto itself. You’re not trying to strangle the cable, you’re trying to stop it from turning into a fistfight.
A quick “put-away” checklist you can do in under a minute:
- Coil the cable in a loose loop (don’t crank it tight)
- Secure it with a tie
- Put it in its zone
- If you can’t name it, it doesn’t get to live in the main bin yet
This is the part that saves money. Not the labels. Not the color. The habit of a single home. Cables don’t get lost, they get unassigned.
Label cables like evidence, not like decoration
A cable without a label is a witness who won’t talk. You’ll hold it up to the light, squint, guess, and still be wrong. The goal is a label you can read in two seconds, even when you’re annoyed.
The label format that keeps you honest
Write it on painter’s tape with a Sharpie, or use a label maker. If you want tougher labels, heat-shrink labels work well, but you don’t need them to start.
Concrete label examples (copy these and tweak):
- MacBook USB-C 65W 2m
- HDMI 2.1 3m TV
- USB-A→Micro 1m Camera
- USB-C→USB-C 100W 2m Desk
- USB-A→USB-C 1m Car
- Barrel 5.5x2.1 12V Router
- DisplayPort 1.4 2m Monitor
Where to put the label so it survives:
- Put it near one end of the cable, about 2 inches from the connector
- Add a second label on the other end for long cables (optional, but it stops the “which end is which” nonsense)
- Wrap clear tape over the paper label if you want it to last longer
Mark power bricks so they stop playing dumb
Power bricks are worse than cables. They look the same and lie with confidence. Label them with what matters, right on the brick:
- Output: 5V, 9V, 12V, 19V
- Amps or watts: 2A, 3A, 65W, 90W
- Polarity (for barrel plugs): center-positive or center-negative (often shown by a symbol)
Write a short brick label like:
- 19V 3.42A 65W (Laptop)
- 12V 2A center+ (Router)
- 9V 1A center- (Pedal)
If the brick has multiple outputs (or “fast charge” modes), don’t guess. Copy what’s printed on it. The brick already told you the truth, you just didn’t write it down.
A simple color-coding scheme with no special tools
Color makes sorting faster. Keep it basic, or you’ll quit.
Pick one scheme:
- By cable type: blue tape for USB, red for power, green for video, yellow for audio
- By room: blue for office, red for living room, green for travel, yellow for studio
You don’t need fancy tags. A 1-inch band of colored tape near the connector does the job. Then your hands can sort before your brain wakes up. That’s real cable organization.
The 15-minute sort that ends the mystery cable cycle
You don’t need a weekend. You need a sprint. Set a timer for 15 minutes. Collect all cables, chargers, and adapters into a single pile. Yes, all of it. The pile is the truth.
Then sort into four groups:
- Use weekly: stays accessible, front of the bin or a small “daily” pouch
- Use sometimes: labeled and stored in the main cable home
- Travel: a separate pouch, pre-packed so you stop raiding your desk
- Mystery: quarantine bag, no exceptions
What to do with mystery cables
When you hit a cable you can’t identify, run this quick decision tree:
- Is it damaged? (frayed jacket, bent pins, scorch marks)
If yes: recycle or trash it. Don’t romanticize broken plastic. - Do you own a device that could use it right now?
If no: quarantine it. - Can you identify the connector type in 5 seconds?
If no: quarantine it with a note like “unknown, found in living room.” - Would you pay $10 to replace it tomorrow?
If no: let it go. Your space is worth more than a maybe.
Quarantine rules that keep you from hoarding:
- Put mystery cables in one bag
- Date the bag with the month (Jan 2026, etc.)
- If it isn’t claimed in 60 days, it leaves
Safely test cables without frying your life
Testing is where people get bold and stupid. Don’t. Be careful and boring.
A safe approach:
- Start with low-stakes devices (a desk lamp that charges by USB, an old power bank, a spare mouse)
- For charging cables, test with a basic wall charger first, not your most expensive laptop
- If a cable gets warm, smells odd, or disconnects when you touch it, it’s done
- For power bricks, match the voltage and polarity exactly before you plug anything in
- If you’re unsure about a barrel plug, don’t “see what happens.” That’s how you buy a new router
When a cable passes the test, it earns a real label and a spot in the main bin. When it fails, it’s out. No ceremony. No guilt.
Conclusion: give cords names, and they stop haunting you
Re-buying cables isn’t bad luck. It’s an anonymous gear in a dark drawer, playing hide-and-seek with your patience. Give everything one home, one label, and one simple color mark. Then quarantine what you can’t name.
Do it once, and your cable organization stops being a project. It becomes a quiet rule you follow when you’re tired, when the room’s dim, when you can’t afford another round of “Where did it go?”
Tonight, label five cables. Put them away on purpose. See how fast the noise drops.